

I’m not sure how it is where you live, but where I live, in Minnesota, you almost cannot find a winter planter without birch logs in it. Birch trees are plentiful in Minnesota, and truth be told, I have always loved the look of a birch tree or birch bark anything. In fact, I still have a mug I bought probably 30 years ago at a Cracker Barrel restaurant. I used to drink my coffee out of it, but it isn’t the greatest drinking mug, as the lip of it isn’t quite right. It makes a great holder for my crochet hooks, though.
Anyhow, I have admired the winter planters from my neighbors’ front porches, to the local shops in my town. There’s something about the white logs against darker tones of greens, golds and reds. It’s so festive yet natural! But because I’m a bit of a cheapskate, I have refused to purchase birch logs for my own planters. You might even say I grew to hate the sight of them, because they are literally everywhere and I just couldn’t make the purchase. So I had an idea.
On the surface, my idea sounds kind of dumb, I admit it. But many times, I go with a dumb idea, and am surprised with either how good the idea was, or just how ridiculous! And I’m sure I looked, um, interesting as I dragged a huge fallen branch I found on the middle school field to my back yard where I hacked it up into manageable “planter” sized logs. I couldn’t tell you what type of tree it was, but it was not birch, maple or oak.

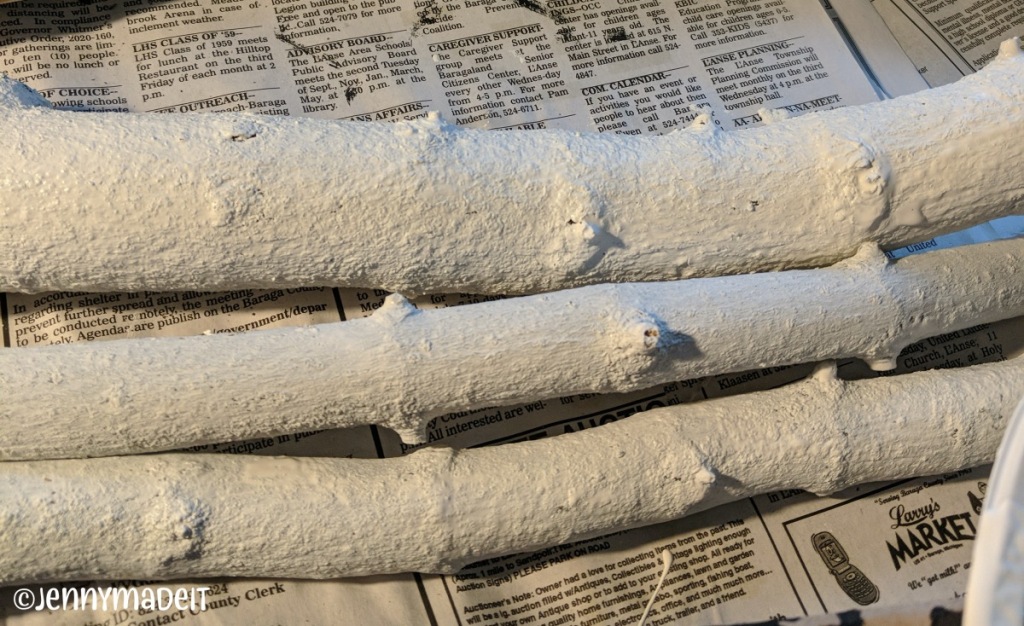
I knew I wanted to paint these logs and turn them into “birch”, but I didn’t have that amount of white craft paint, and I wasn’t ready to buy more, so I rummaged through the storage area of my basement where I knew many cans of house paint were left for us. I used interior latex flat paint in Antique White to put a nice base coat of white on the logs, then I used some craft paints in gold and brown and black to “birchify” them. I used Google to find images of birch logs as my guide, as I transformed these basic branches into something I can hopefully reuse for a few years.

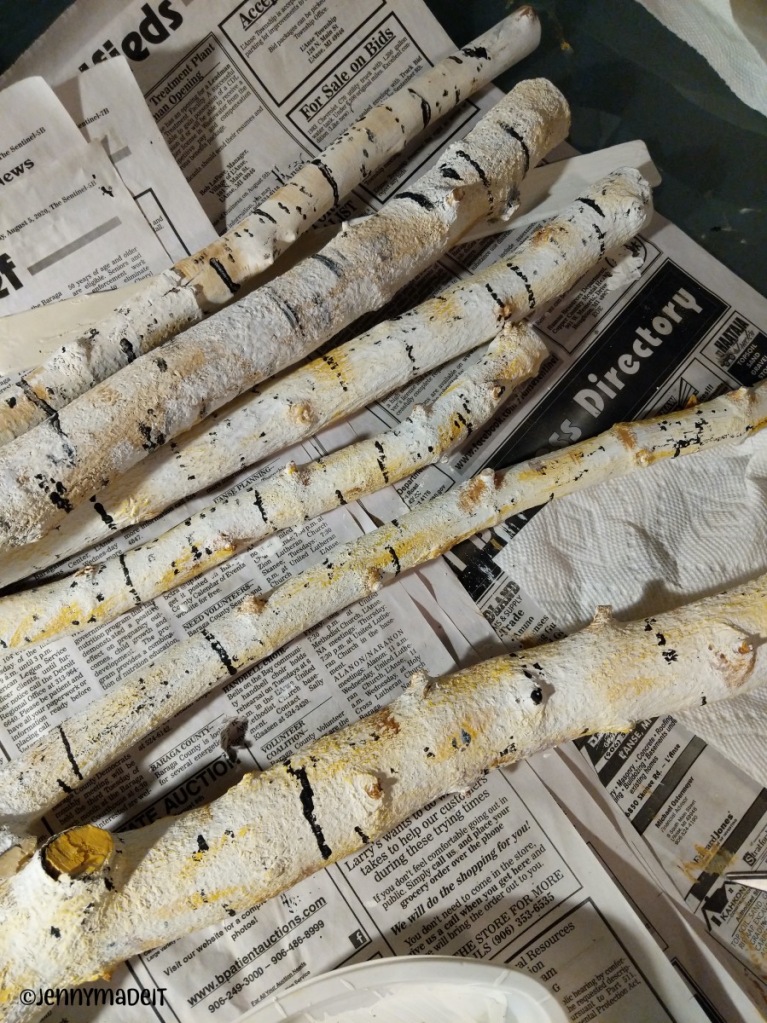
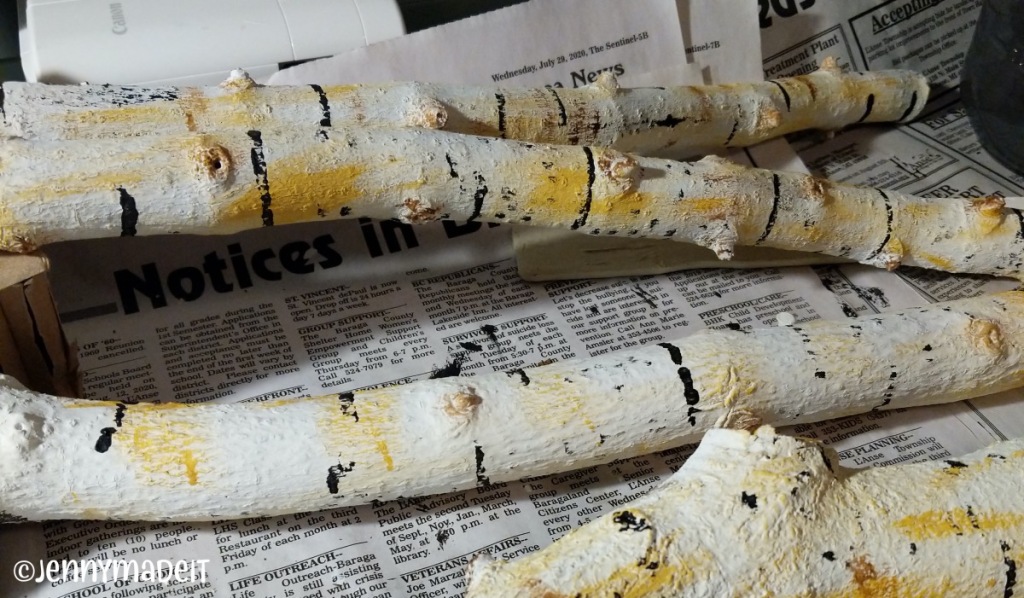
I found the best way to get the black marks was to use a piece of stiff cardboard and dip the edge in my black paint, then “imprint” the black onto the log, while turning the log so the straight cardboard could make a mark on a round surface. Then I found that tapping the cardboard on the log in areas gave me some dot-dash patterns that make the logs look realistic. I also found I went a little heavy on the gold and toned it down in some areas.
I ended up with six good logs, three for each planter on my front porch. I think they look nice! I’m happy with them, and I will store them in the garage or basement in the off-season and bring them out next year. Since I painted these “free” logs with supplies I had on hand, my investment was my time, and not my money. The birch logs sell for about $4.99 each. That would’ve been $30 for my two planters. Instead, I purchased these pre-bundled greenery packs at Home Depot for my planters. Last year, I literally went around my yard and trimmed pieces off some evergreens and also some arborvitae.

Thanks for stopping by! I have another big project to write about so stay tuned! For now, I have to get to bed. I am making all my Christmas cards by hand this year, so I plan on getting an early start tomorrow.
Jenny

Wow! I am so impressed! The pot is beautiful and yes, the birch looks so real. Only you could of thought of this and had the vision to follow through. Go Jenny!!
LikeLike