Disclaimer: I get no benefit from providing links to websites with products or ideas. I simply add them so you can find things if you’re interested.
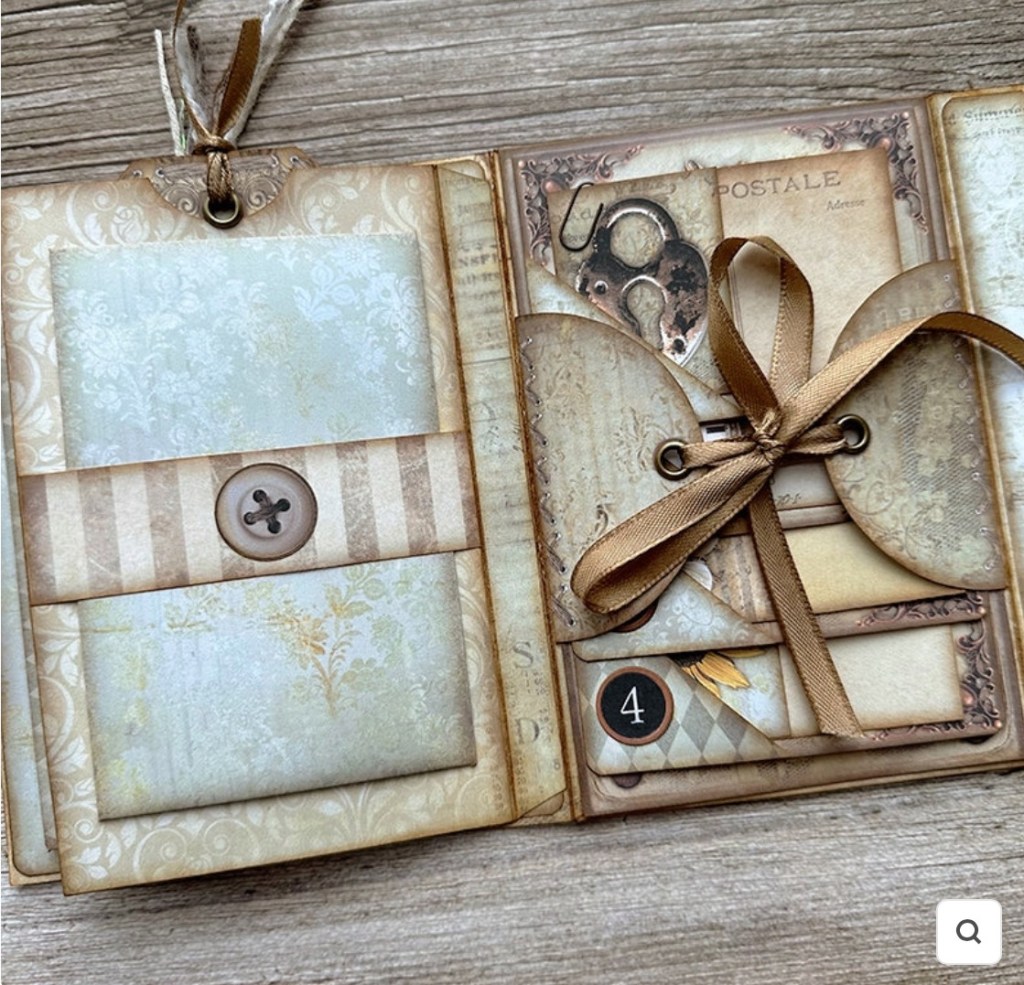
I recently saw something on social media that I found intriguing. But it isn’t exactly new to me. It’s junk journaling, which is a term really open to interpretation. I see it as a way to be creative with found or memorable items (think theater tickets, a pressed flower from a corsage), trying new techniques in paper crafting, and writing down thoughts and memories. On social media, I seem to see a lot of junk journals in the vintage genre. They certainly are beautiful, and many makers sell these journals to folks who may not want to or cannot make their own. They can add writing, photos, or whatever they choose to their purchased journal.
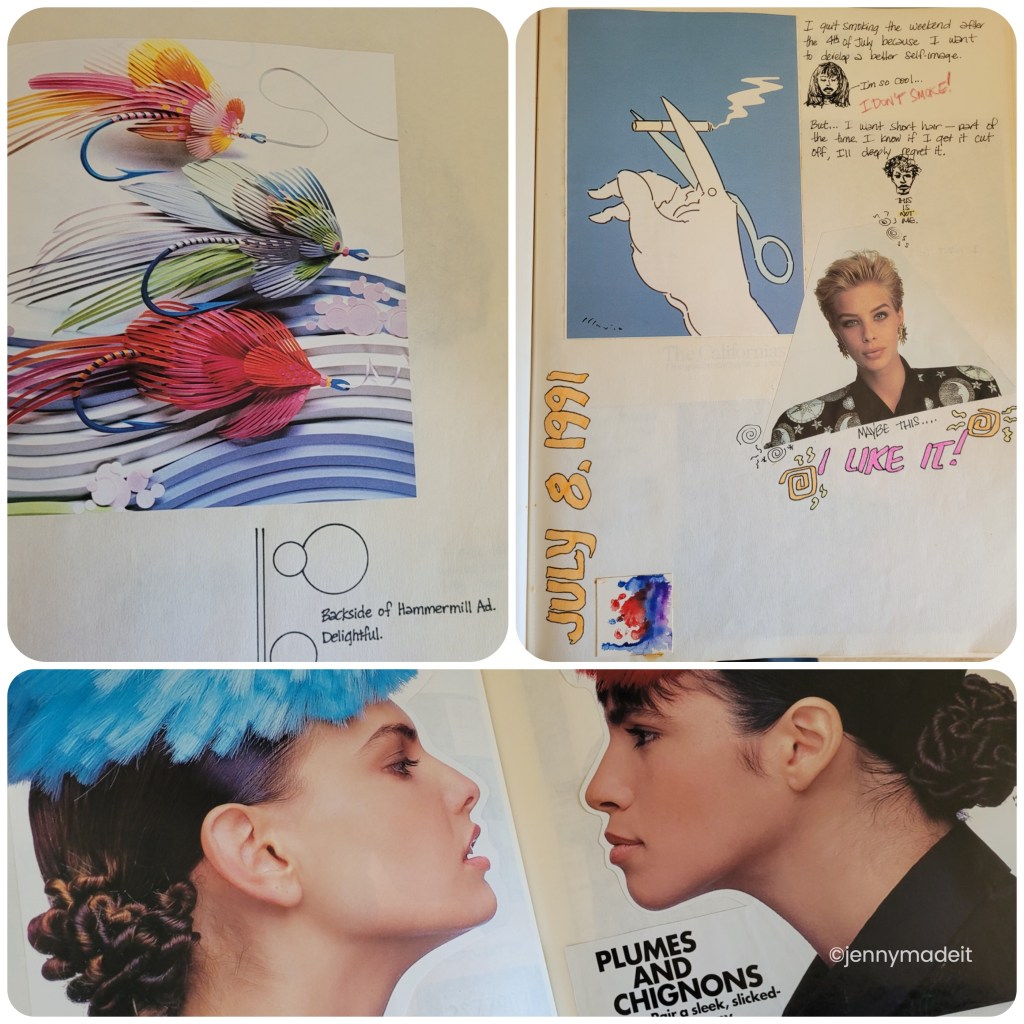
So, what I mean by this hobby not being new to me is, an as art student in the mid-eighties and early nineties, I often kept a scrapbook of sorts to save intriguing pieces of graphic design, or interior design, or just advertising that I found interesting. I kept one book with just a few finished pages after I graduated in 1990.
Then after my first son was born in 2000, I got interested in scrapbooking to preserve pictures and memories of him and our journey as new parents.
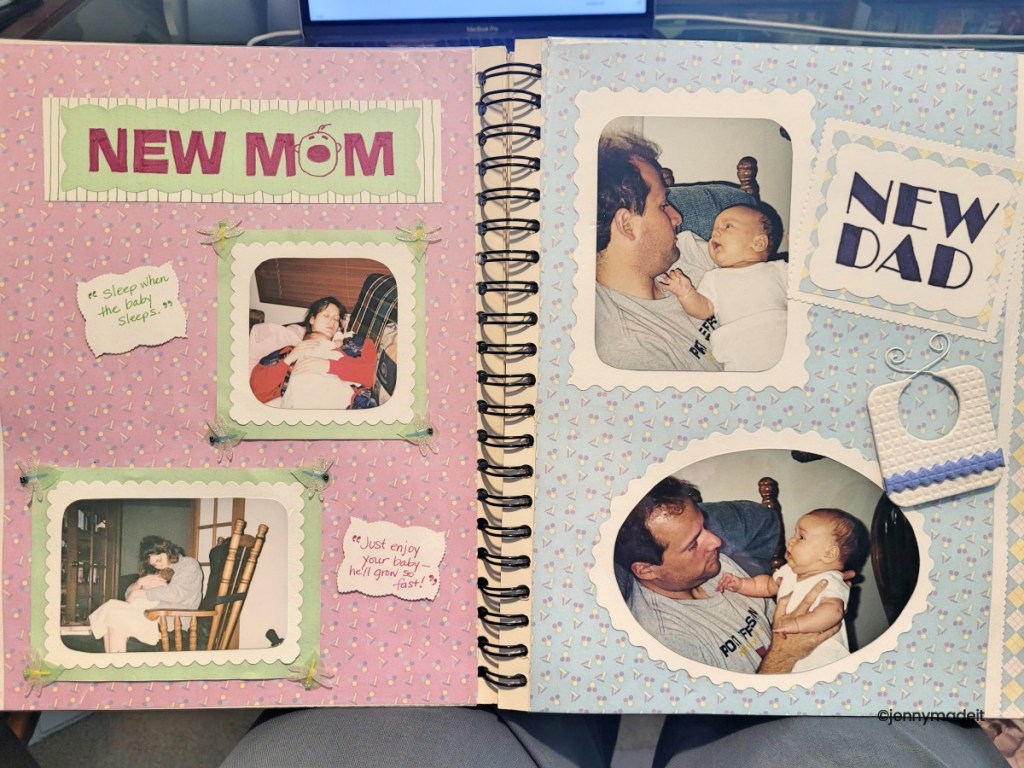
I also bought some software at the store (remember those days?) on a CD to create little journals or greeting cards. Here is one I created as another little scrapbook about my first born son.

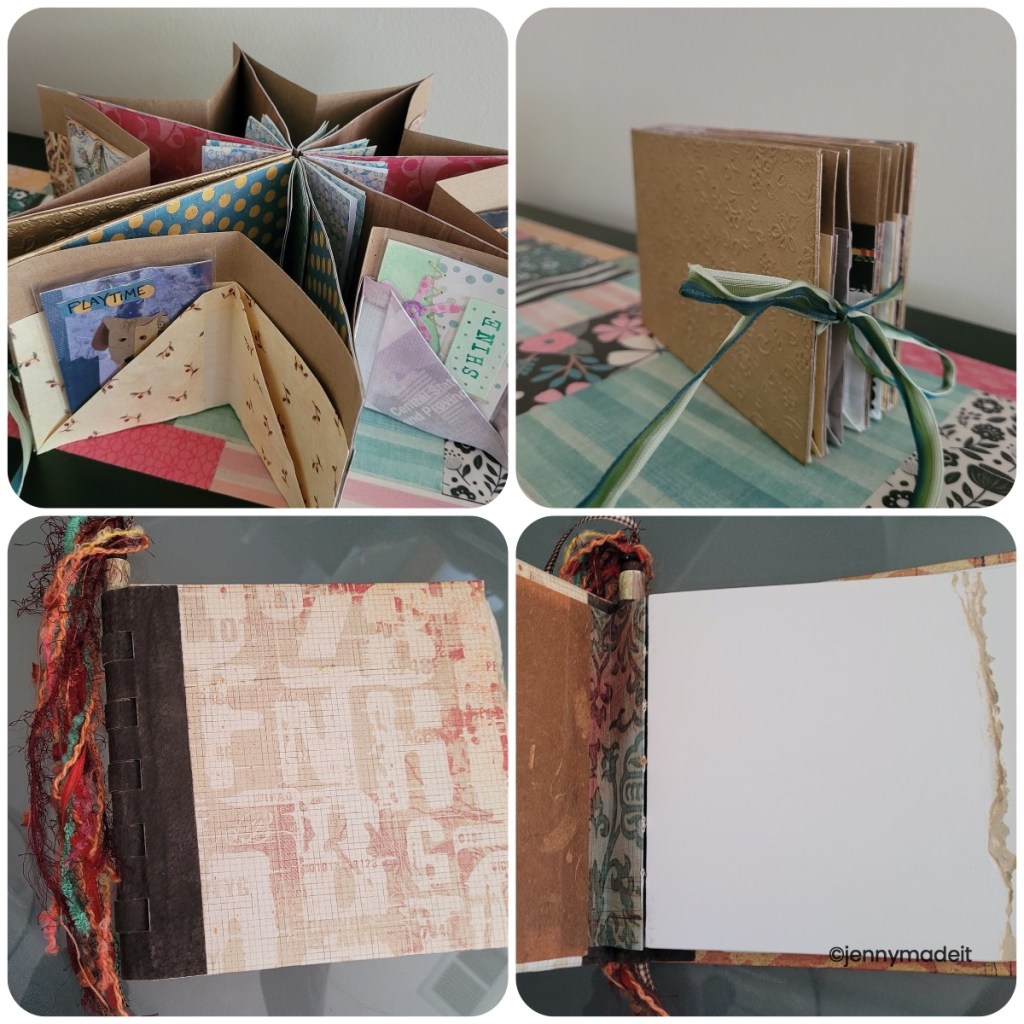
At some point in the early 2000’s, I also got interested in bookbinding, and made a really cool project featured in a book I purchased all about bookbinding. In fact, I made about three things from the book. I really love them, but didn’t carry on with the hobby.
I also dabbled in digital scrapbooking when my second son was born. I even had a brief online business selling my designs.
Now I find myself in 2024, on the precipice of tossing all my scrapbooking and stamping and card making supplies to the local Buy Nothing page, watching a very cool video on a social media site about a person making a page for a vintage junk journal. I was so intrigued! I needed more. I was glad I didn’t toss all my supplies! I had a Moleskine journal my husband no longer used, and I began there. I adorned the front cover with a crocheted flower I had lying around and other bits and bobs. “Bits and bobs” is a term I hear a lot when people are discussing junk journaling. I like it! It covers many bases.
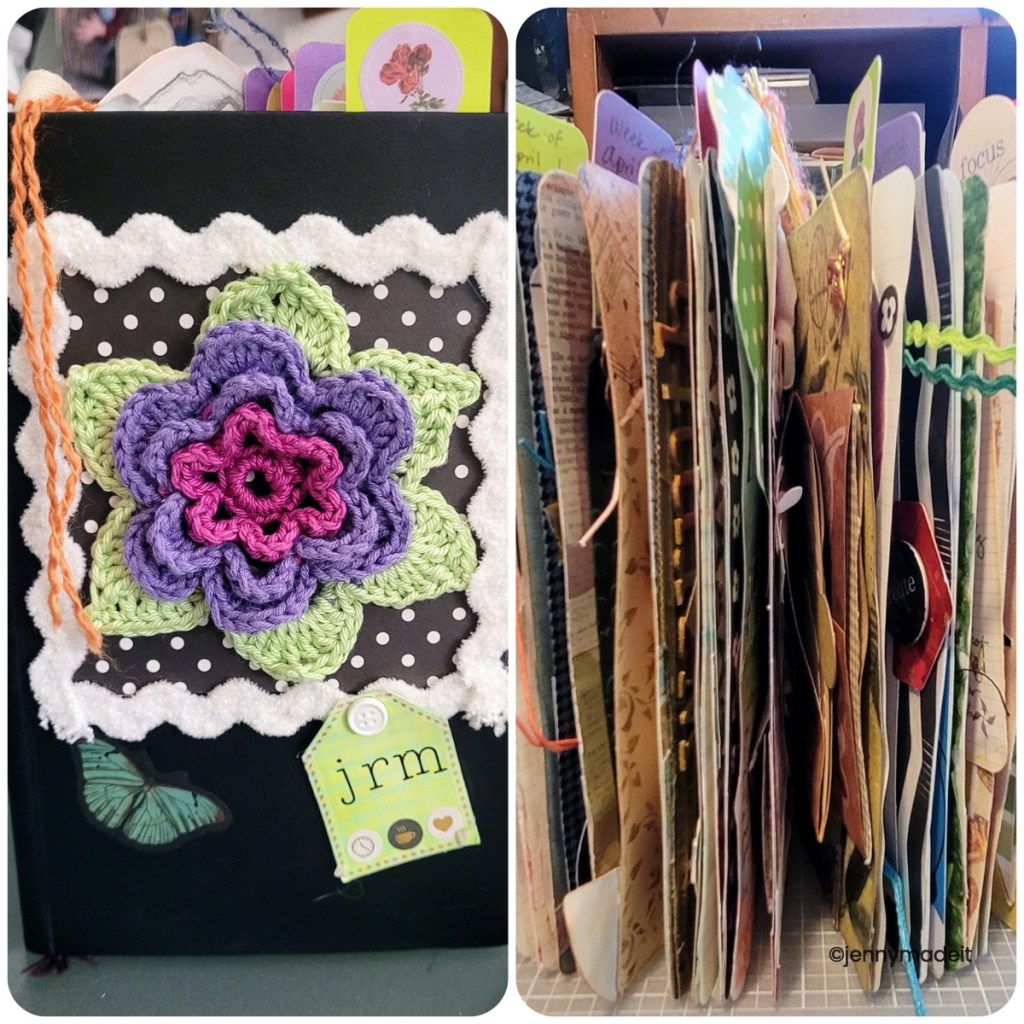
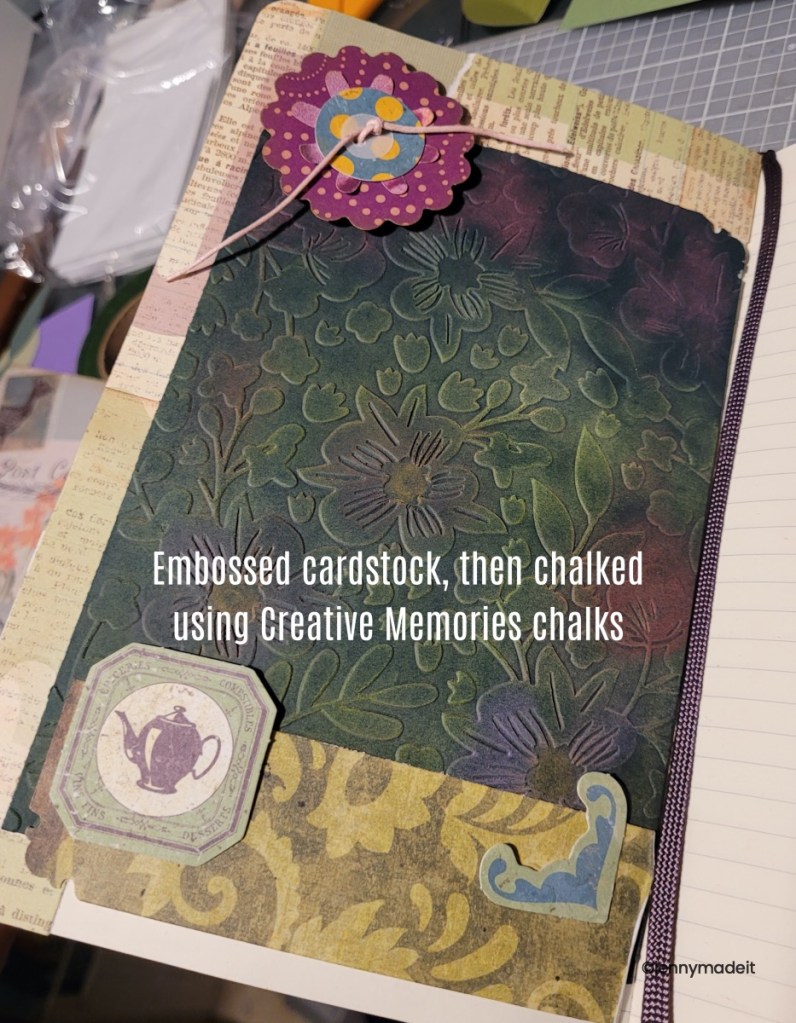
I have quite a bit of supplies, like patterned paper, cardstock, Washi tapes, stickers, etc. So I really just tried to have fun with pages, while also keeping track of what I worked on in my creative life on a daily basis. Some days, I would work on a cross stitch while also creating a journal page. It’s nice to look back and see all the different things I worked on. Below is a page I worked on with layering, die cuts, and waxed linen thread. The dark green floral piece started out as a basic forest green card stock that I put through my Sizzix Big Shot with an embossing folder. Then I used some chalk to enhance the image.
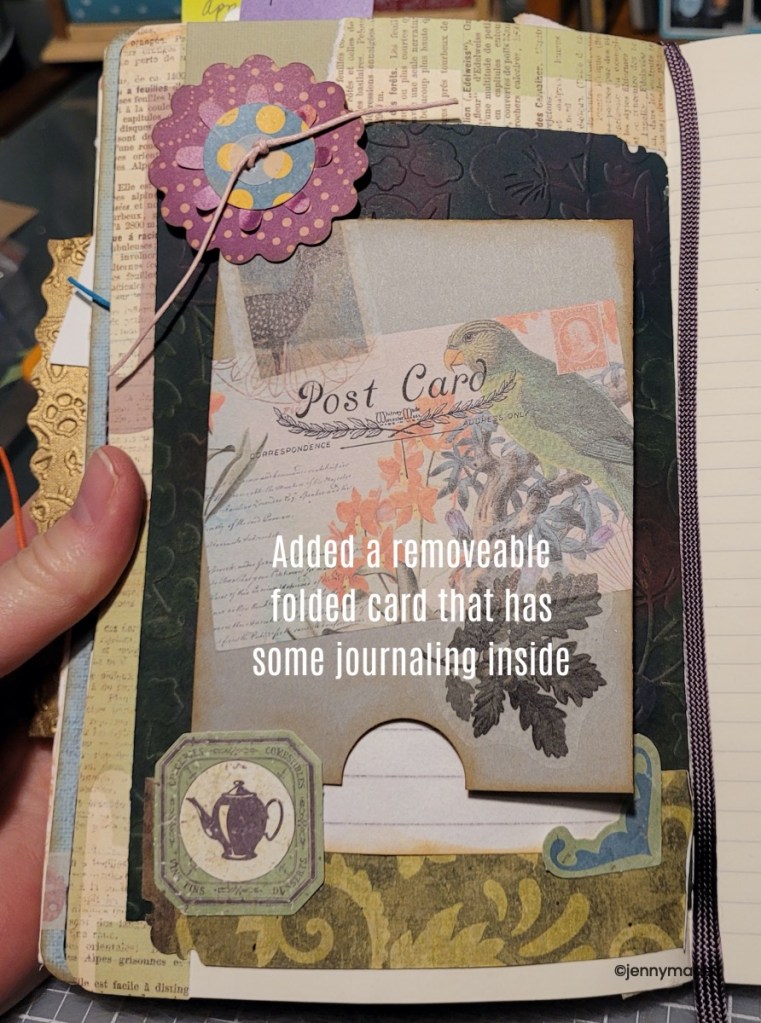
Then I created a little fold over piece that I could tuck into a few elements on the page. I wrote some notes on this little page.
What I love about this craft is that you really can do whatever you wish. You can doodle, or just write, or paint, or whatever, especially if it is just for you to enjoy.
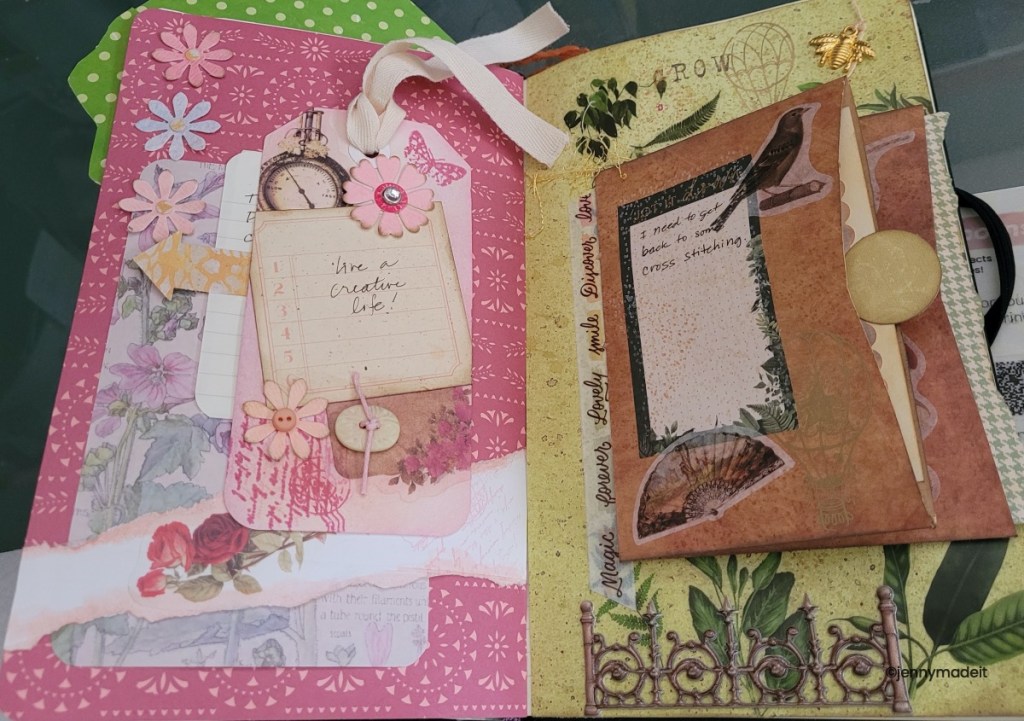
Here is a double page spread from my journal featuring little slide out elements and the use of a folder that has been modified to use as a little folded pocket. I utilized stickers and even a little bee charm that was once on a baby shower party favor. As you can see, I like to tear paper and ink up the edges to add a scrappy, layered look.
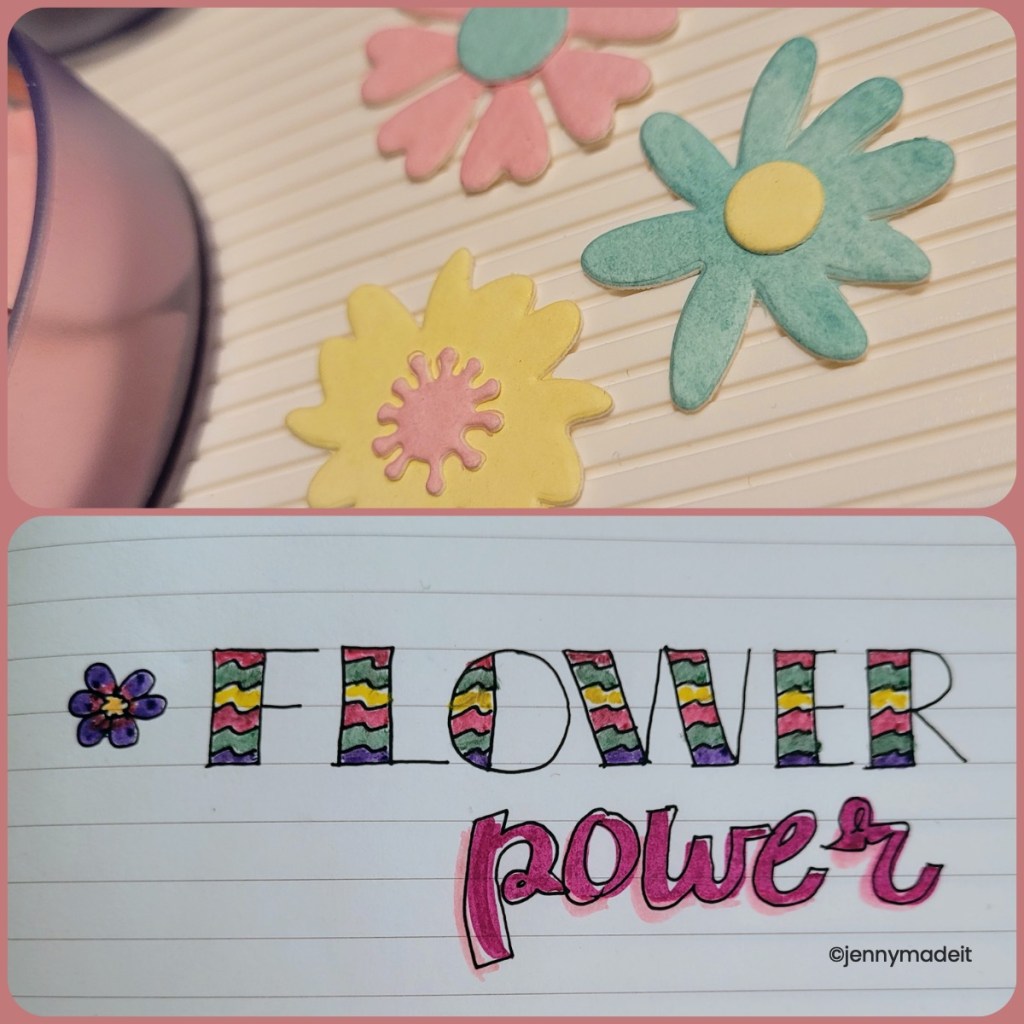
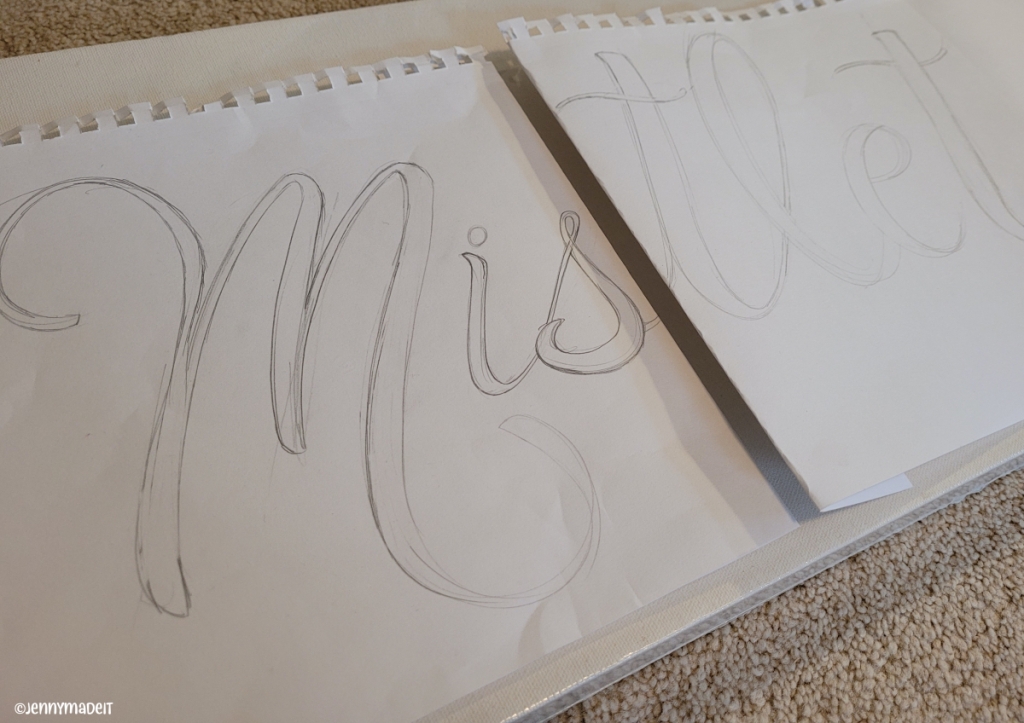
Here, I die cut some flowers out of a piece of watercolor paper that I had painted on. I also practiced some hand lettering. And it isn’t very hard to find hundreds of free resources online to help you out. I found many sites with free backgrounds, images and “bits and bobs” for you to download and print at home. So give junk journaling a try if you like. You may surprise yourself at how creative you really can be.
Thanks for stopping by!