
Have you ever decorated your laundry room?

The most I’ve ever done in a laundry room is to apply some cute old-fashioned laundry decals I found at the craft store. Really easy to do, and adds a homey touch to the room I spend way too much time in. But this was at my last house. I’ve lived in this current house for going on eight years, and I’ve just painted it for the first time. And it’s not very exciting as far as paint colors go, because we are moving in a year, and I need to keep things neutral (a.k.a. boring).
My current laundry room is on the second floor of my house, and out of the four houses I’ve lived in, only one had its laundry room on the main floor. It’s convenient to have it on the floor where most of the dirty clothes live.
Anyhow, today’s post is about a little sign I made for my laundry room that serves two purposes. First, it’s a little decor in an otherwise boring room. Second, my youngest son is the master of losing socks (somewhere in our house) and I constantly have a pile of single socks, and my ranting about this constant stream of single socks does nothing to change the situation. He is twelve years old, and he cannot wait to remove his socks once he removes his shoes. So I’m either ranting about the dirty socks left where ever he drops them, or ranting about the fact that somehow, only half the pair ends up in a laundry basket. Life’s deep mysteries, I tell you.

I purchased this basic wood and rope sign at my local Walmart, and I’m sorry I don’t remember what I paid for it, but I bet it was under $15 for sure. It was meant to hold photographs in the little clothespins. The wood was already distressed so that saved me a step. I had seen this saying “Clean, single and looking for a mate” on a sign that is meant to hold unpaired socks and like I always do, I said, “I can make that!”
I had also purchased the wood letters because I knew the only ones I had at home were “collegiate” style, and that wasn’t the look I was going for. In the photo, you can see where I already sketched out in pencil the lettering that I would paint by hand. If this is a scary idea to you, don’t worry: you can use more wood letters, or use rub-on letters from the scrapbooking department. If you use wood letters, you should find smaller ones than the ones you use to make CLEAN, SINGLE AND MATE.
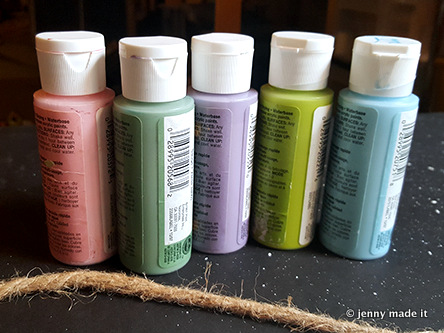
Next, I decided on what colors to use for the sign. Since my laundry room is so plain Jane, I decided to use some colors that I saw on a paint store flyer. My colors are not exact matches, of course, but they were a good starting point.
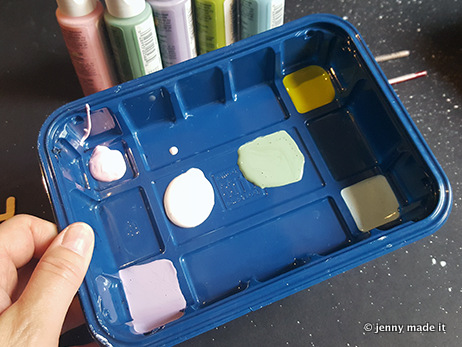
I added white to my palette (former frozen food dish) just in case I need to adjust some colors. And as it turned out, the lime green color was way too bold and needed to be muted with the white. I know me, and it wasn’t in my best interest to match the colors I had found on the flier, but rather get close because while I liked those colors together, I knew I would like a near representation of them, too. Not everyone is adventurous enough to start mixing colors up, but the good news about a project like this is, you do not need a lot of paint. In fact, look at the palette pic above: that’s too much color for a few 1″ high wood letters.

Another quick note about these particular letters: they have what appears to be a light wood stain on the edges of the letters, leaving the fronts and backs unfinished and ready to accept whatever paint or stain you want to put on them. I used a basic small flat paint brush to paint my letters, and as seen in the above photo, I simply used a straight pin to hold the letter while I painted it. I am too impatient to paint half the letter, let it dry, then paint the other half. I don’t have all day! Also, I only painted the fronts. I did not touch the sides. It will never be seen or looked at that closely.

As for what letters should be painted what color, I didn’t think too hard about this. I just painted a few one color, painted a few another color…Just don’t paint the same color next to itself.

Laying the letters out in their proper order really helps you to determine what colors you want to paint what. Plus, you can always paint over a color with a different color once it dries. This is a very forgiving medium.

And here I am muting the electric lime green color with some white. The pale mossy green at the bottom center of the photo is right out of the bottle, and I wasn’t sure about it at this point. Just ignore that for now.

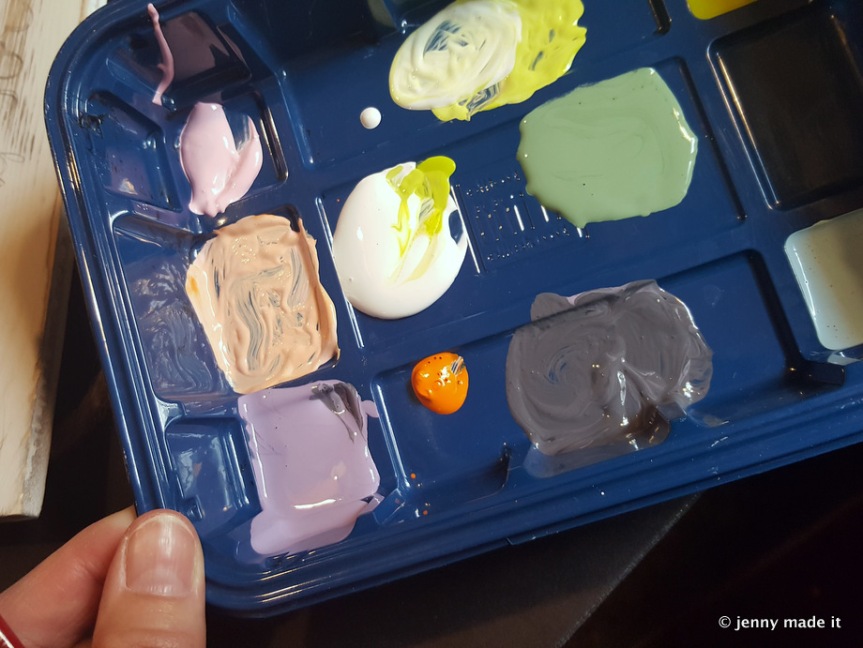
Now I have painted with the purple, the light blue, and the muted lime green.
Now, this paint color flier had this lovely peachy tone and I tried to make it by mixing some pink with muted lime green, and I got close, but not where I wanted it to be. So I took my bottle of horrendous Halloween orange and added a dab to the palette so I could add just a little to get the peachy tone I was looking for.
Your letters should dry fairly quickly, so long as you’re using acrylic craft paints, and thin coats of it, and it’s not too terribly humid where you are. When the letters are dry, it’s time to arrange them the way you want them on the board and decide if the way you plan on doing other lettering still works.
**A note about letter arrangement: When I first opened the letters from their packing, I realized I didn’t have enough room on the wood plank to spell out all the words with wood letters. I am totally unafraid to hand letter things, so it wasn’t a big deal for me. If you are thinking of doing a project like this, try to figure out in the store, before you buy, whether or not what you want on your wood plank will fit. If not, consider doing some words in the wood letters, and consider an alternative like a paint marker, or rub-on scrapbooking letters.**
Like I mentioned before, I decided right away to hand letter the rest of my words, and I had used a pencil to sketch them out. I just needed a smaller paint brush, and I decided to use black paint muted to a charcoal with a little bit of a light color already in my palette.
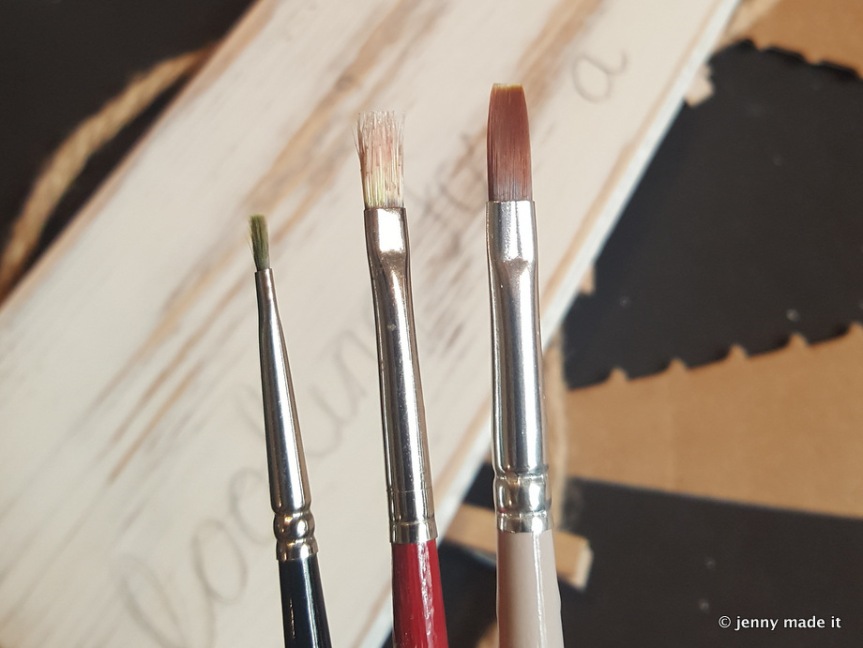
To the left is the small brush I used to do my lettering.

I painted on a very non-committal comma first.

And here is the rest. It’s not perfect, but I am happy with it. Now is the time to glue the painted letters on.
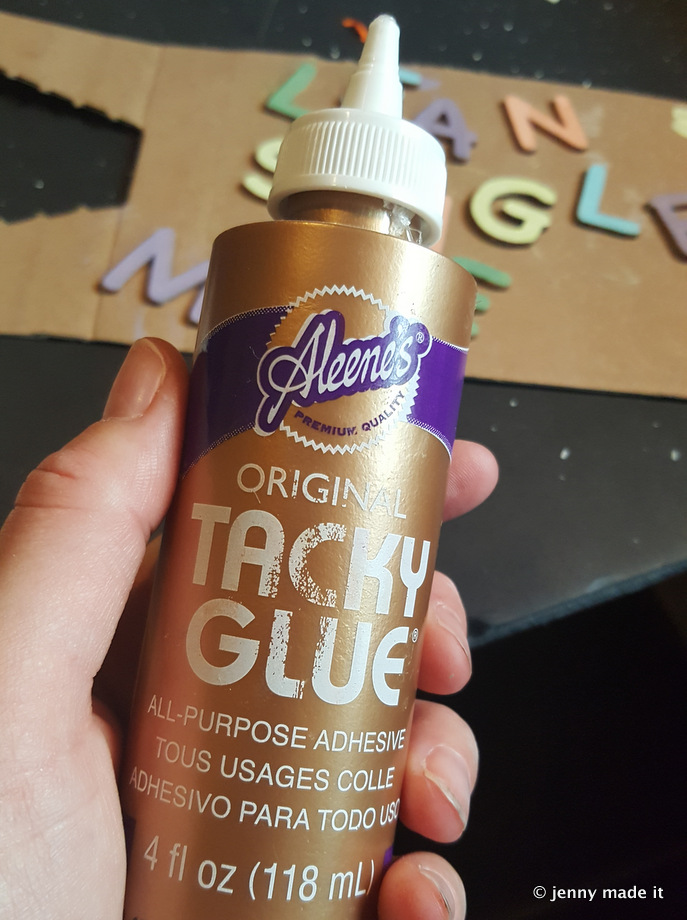
This is the glue I used to attach the wood letters to the plank. It only takes a little glue. You probably don’t want it squishing out from behind the letters and creating a glue blob here and there.
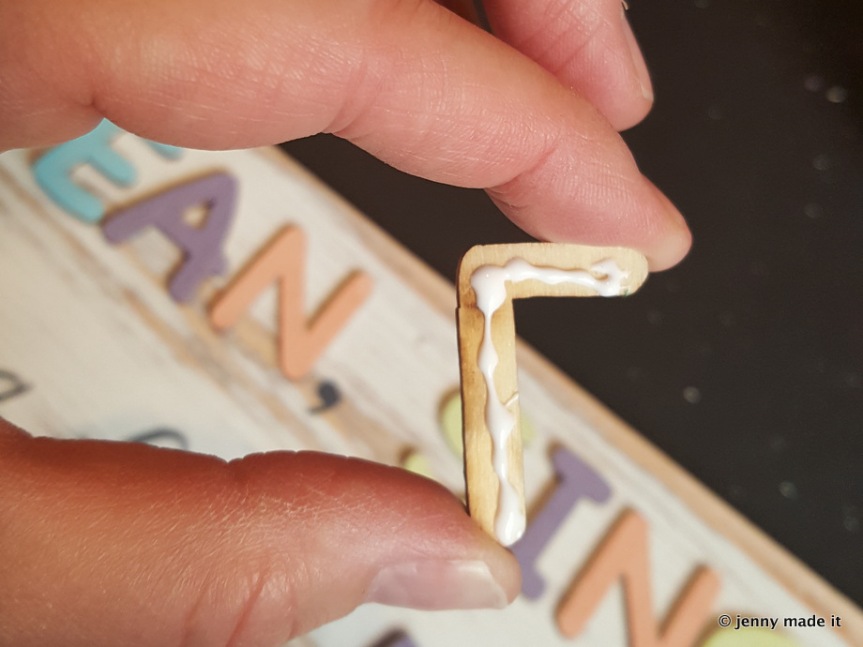
This is the method I used to glue the letters on. I arranged all the letters on the plank. Then I picked up any letter that wasn’t the first letter. In this case, “L.” I put glue on it, then replaced it on the plank. I then was able to glue the other letters in the word “CLEAN” without worrying about having the spacing right. The good news is, with glue like this, it doesn’t dry immediately where you can’t slightly slide the letter around a bit to get it exactly where you want it. Hot glue would make this more difficult. 
At some point, I decided to try the mossy green color on a few letters, and I was really pleased with that result. I also muted the lime green even more. I was glad I did. So here is the finished piece. I’m really happy with it, and I’m also happy the small clothespins hold the socks! I was thinking I may have to swap them out with full size clothespins, but nope–they do the job. And I fully expect my son to end up with more than four orphaned socks at once. Because I know this kid, I may have to add some clothespins, and then some more rope….
Thanks for stopping by! I hope you have a wonderful day!

Wonderful and Fun to Read and Learn something New!
LikeLike